How to Establish Factorio Linux Server from scratch
1. Purchase Cloud Computer
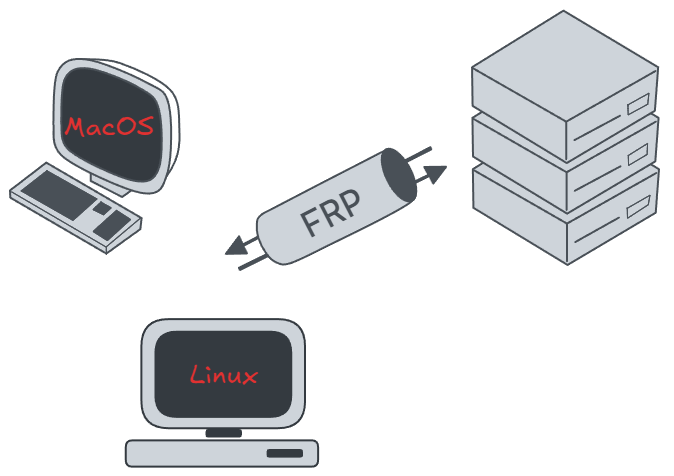
2. Connect to your Cloud Computer
2.1. Login via Ali Cloud

 {:height 413, :width 748}
First, we find Dashboard in main menu of aliyun and click it.
 {:height 413, :width 748}
Find your ESC control console.

This is our ESC established just before.
2.2. Login via SSH
There are some methods for you to select, if you are a beginner, I recommend you use Finalshell, this a free app on windows. And our tutorial will continue with finalshell.
Login in via some other shell tool: Finalshell
Login in via VSCode: [VSCode]([](Visual Studio Code - Code Editing. Redefined))
Login in via powershell: A powerful powershell
Before we start login our remote serve, we need to know, except login with your ssh password that you have just set it above, you also can login through a Key Pair - SSH key.
Click here for more details about install and config ssh Install and Config SSH Connection .
3. Download Factorio Headless Server
Out of the impact of GFW in China, it will be difficult for you to download some external website resource.
LATER I will introduce some methods to go through the block of government. Methods of Proxy
Now, Let’s start.
Go to official Factorio website and find button of download Headless Server. 

Then, we’ll find it at out Download folder.
We absolute can download it directly.
Copy the download url:
Then, we use wget download it directly on our server.
1 | wget https://www.factorio.com/get-download/2.0.15/headless/linux64 |
LATER If you Download it at your windows platform, then you should upload it to your server. How to upload a file to Remote Server
No matter how you download, we should put it more normatively.
I strongly recommend you settle that .xz file at ~/Download.
Extract .xz file with tar .
Please remember that now we are operating inder root user.
1 | sudo tar -xJf ./factorio.tar.xz -C /opt/ |
Make sure operation consistent, we extract .xz file to /opt/. {:height 146, :width 654}
Then we’ll find it at /opt/factorio
4. Configure Factorio Server
Clone Factorio Updater: Github Link
1 | git clone https://github.com/narc0tiq/factorio-updater.git |

LATER Update game:
Before we update it, you must have python installed: How to install python
1 | python3 ./factorio-updater/update_factorio.py -xDa ./factorio/bin/x64/factorio |

Initial game:
1 | ./bin/x64/factorio --create ./saves/my-save.zip # This creates a new save, as if by clicking the New Game button in the GUI |

Then we will find our game directory has been changed - there are some added file:
Upload our local saves to RemoteServer:/opt/factorio/saves/xxx.zip.scp
1 | scp ./SA_Multi.zip root@47.116.182.195:/opt/factorio/saves |


If your saves file are at Windows, you can find them at: ~/AppData/Roaming/Factorio/saves
Upload our mods file to Remote Server:
This time, we directly drag all file to /opt/factorio/mods/ with finalshell. There are some methods for you to select, if you are a beginner, I recommend you use Finalshell, this a free app on windows. And our tutorial will continue with finalshell.

Configure some server setting:
If you want publish your game to Factorio Host Hall, which means everyone can see your server from Multiplayer-FindPublishGame. You need set /opt/factorio/data/server-settings.json
You MUST input your Username and Password, you can search it at Official Factorio Profile
5. Start Your Server
Start your server
Using a simple command:
1 | ./factorio/bin/x64/factorio --start--server ./saves/SA_Multi.zip |
Run the command in the background
Open your port
To speak of, almost all Cloud Server Retails set Firewall to protect your safety, if port 22 is closed, you will never connect to your server, please make sure you open at lease port 22. I will introduce it: How to set Firewall.
In this section, we need know which port should be opened. We can find it at Official Factorio Multiplayer Wiki
It is not hard to find.
And we also can find it after we start our server.
We also can use netstat to find it:
1 | sudo netstat -tulnp | grep $(pgrep -o factorio) |

Then, we need find who is controlling your port, in AliCloud, we can change it through control plate Security Group:

Remember open both TCP and UDP, in fact, factorio just uses UDP.
We can test whether the ports are work: nc
1 | nc -zvu 47.116.182.195 34197 |

Now, you are successful.